Blueberry Bass Overdrive
I play bass guitar, and in my quest to improve my bass sound, I started researching various bass guitar effects pedals and came to the conclusion that they are, for the most part, expensive. Sadly, I do not have room in the budget for all the effects I would like to try. I remembered hearing or reading somewhere that a lot of original guitar effects were DIY type things. I did some googling and discovered the Guitar FX Layouts blog and thus began my introduction to building guitar effects pedals. Thanks to Ivlark, Mirosol and all the other cool folks at Guitar FX Layouts blog, without these guys I would never have been able to start this hobby.
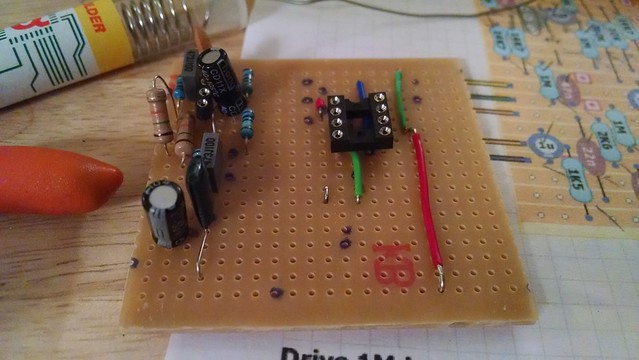
 The first guitar effect pedal I built is a clone of the Mad Professor Blueberry Bass Overdrive (here is the layout). This should not have been my first build, I should have started with something simpler, probably a kit. I ordered all of the parts from Tayda Electronics or so I thought. Once I had received the parts and started getting things together to start soldering I noticed I had missed a few things and ordered some more parts. I had ordered the wrong type of 3pdt footswitch (momentary, not latching), I missed a couple of capacitors, and did not order any knobs for the potentiometers.
I discovered that there are 5 distinct learning curves when building an effects pedal: 1) components, sourcing, and ordering; 2) reading layouts; 3) soldering components to the board; 4) prepping the enclosure and drilling holes for jacks, knobs, and switches; 5) painting / etching / decorating / labelling the enclosure.
Learnin'
A great place to learn about components is once again at the Guitar FX Layouts community. Mirosol has a great 2 part guide to components which taught me the basics and got me started. There is also a build guide, offboard wiring guide, and fault finding guide for when things go wrong.
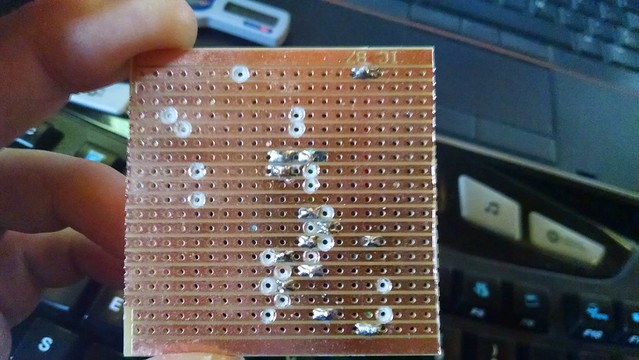
Soldering
I spent a lot of time watching youtube videos about soldering, reading how-to guides etc. There are plenty of resources for starting out. One thing that I learned was to use regular steel wool pad for cleaning the tip of my soldering iron. There is a lot of back and forth about the proper way to clean your iron, I find that using steel wool works for me and is a lot cheaper than some alternatives.
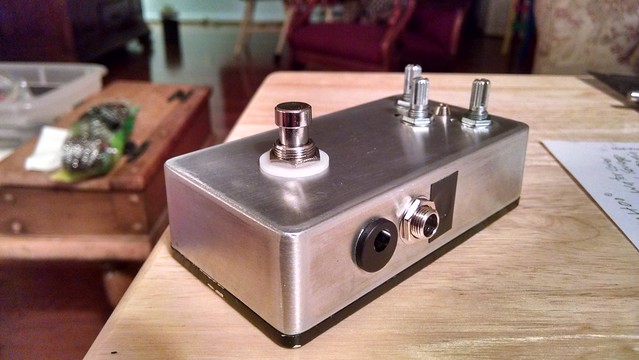
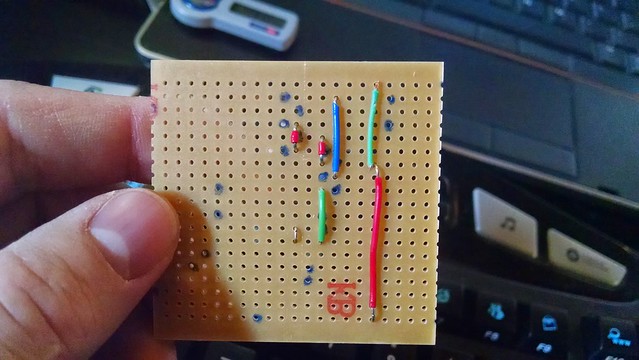
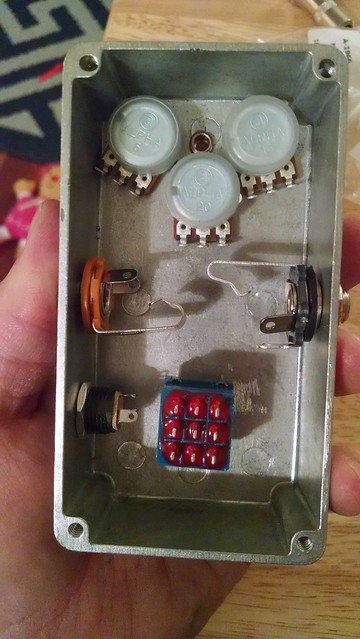
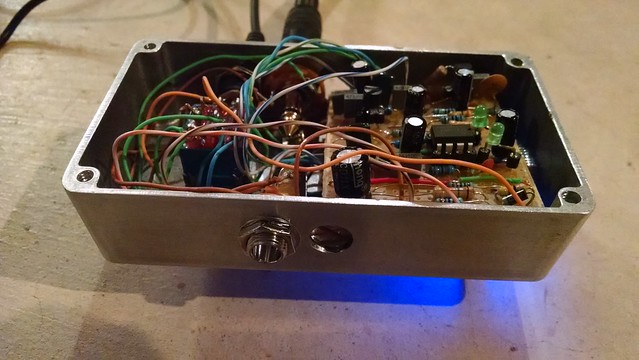
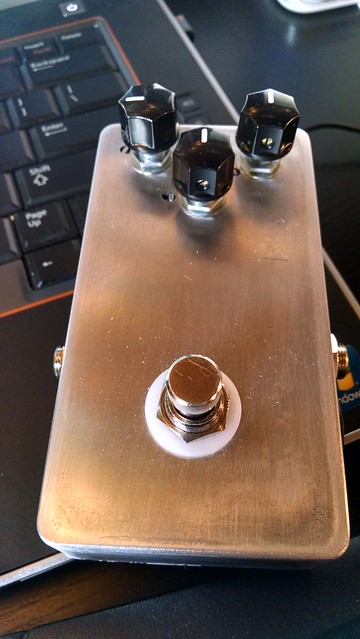
Build Pictures
Now that I've spent time babbling about stuff I learnt, here are some pictures of the first Pedal I built.
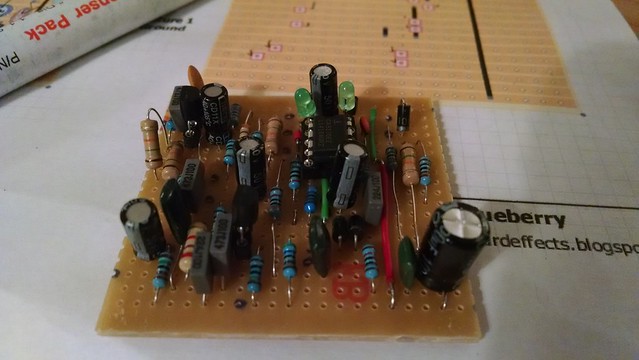
If you want to see all of the pictures take a look at my flicker album
Painting
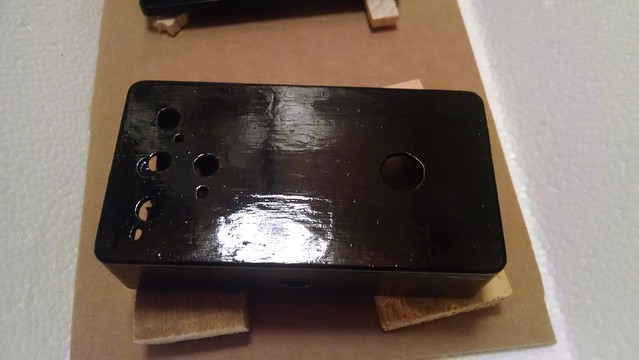
Originally I had grand plans to paint the enclosure black and to stencil a very cool, distinctively nerdy pixel design on the front. This did not work out as well as I had envisioned.

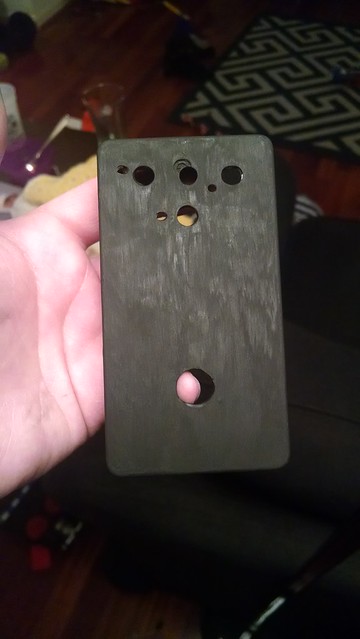
aluminum is visible and the color does not look right.
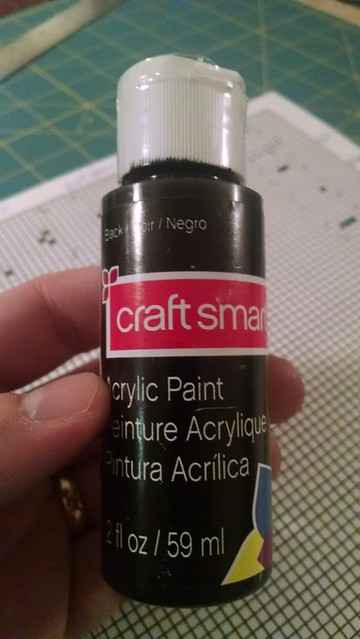
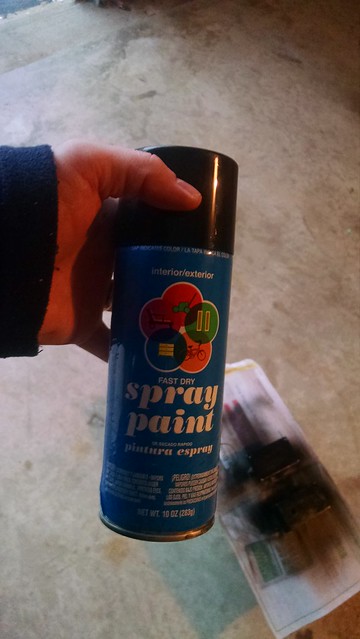
Then I remembered that I had some black spray paint in the garage from a different project. I Purchased this spray paint specifically because it was the cheapest stuff walmart sold.
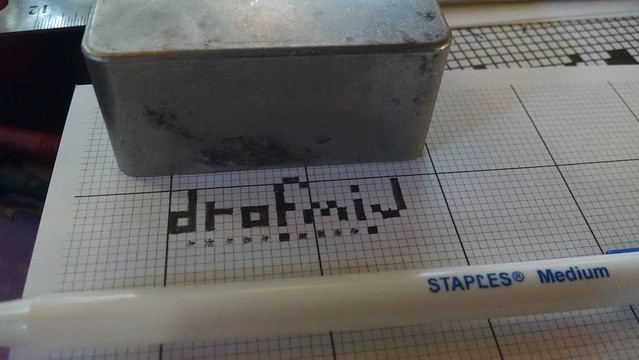
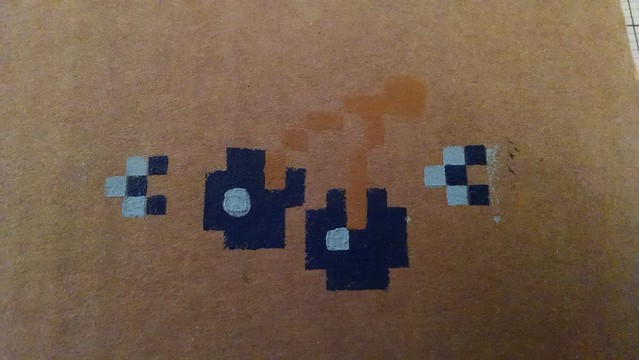
After spray painting the box, I was back to fiddling with stencils. I built the stencils using graph paper and an exacto knife. The main logo was to be built with 3mm "pixels," but my name logo for the side of the pedal would have been too big, so I targetted 1.5mm - way too small to cut out with exacto knife.
I tested the logo with 3mm pixels and discovered that my stenciling technique needed some work.
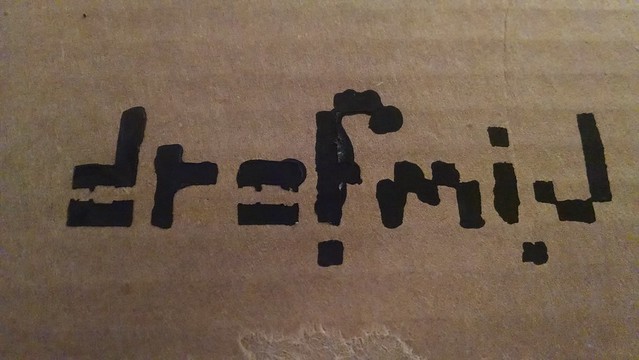
I did some googling and discovered that people use special "stencil brushes" for this sort of thing and using less paint on the brush also helps. I picked some up at our local craft store for cheap and tried again.
After this, more successful, test run I felt confident enough to try stencils on the enclosure box.
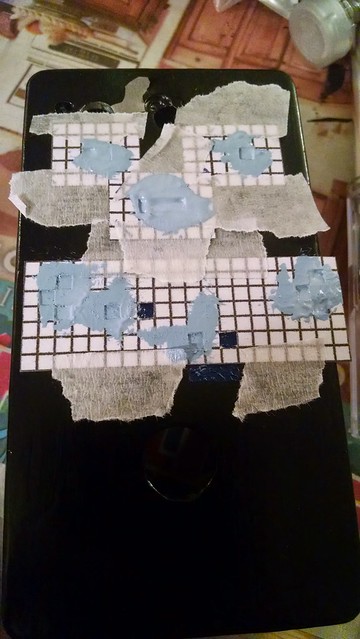
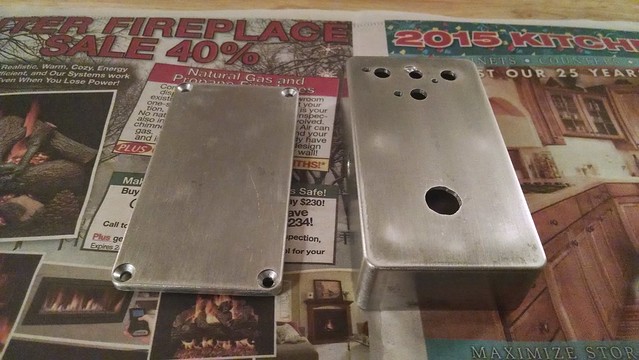
It was at this point that I started to see the black spraypaint peel off of the box.
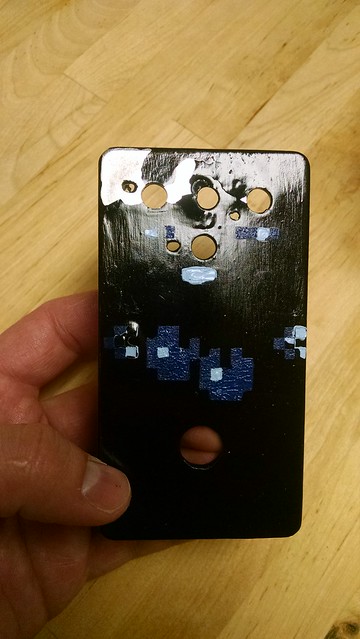
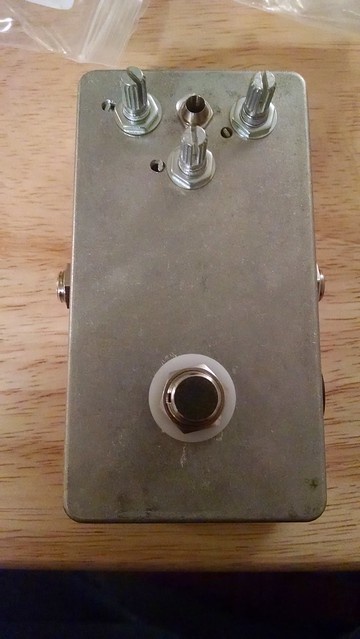
After a long dissapointing saga painting and stenciling, I ended up back where I started. I peeled the paint off with an x-acto knife and sanded the box once more and left it at that.
There are a variety of painting angles I could pursue for future projects, acid / etch primer for aluminum is at the top of my list to try. As for stenciling, I will likely not be using it for future pedals. I am hoping to explore printable transparent labels for logos and labels.
Lessons Learned
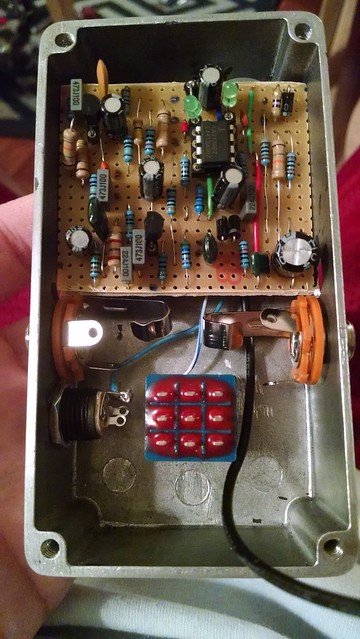
- Measure carefully the board does have to fit in the pedal :D
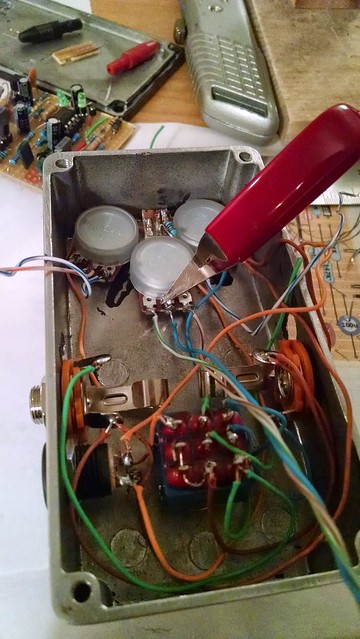
- Be neater when wiring off board components it makes it easier to get everything in the case, and easier to fault test later
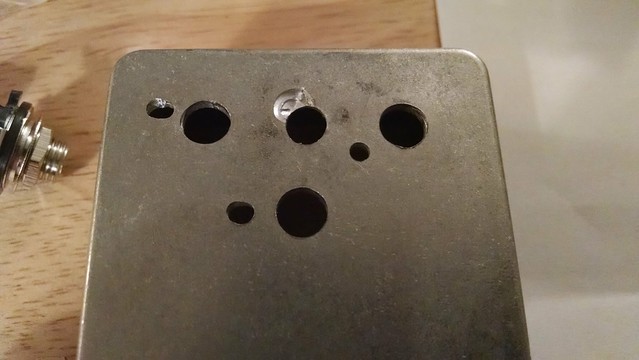
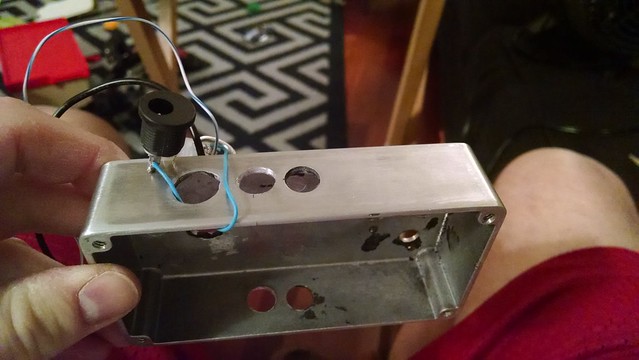
- Drilling metal can be tricky, starting with small bit helps center the larger bit, clamp the enclosure to a bench or table before drilling, use a drill press if available
- Painting aluminum requires some extra steps, more research would have prevented some headaches there
You can find the full project album on flicker.
Here is a quick, badly recorded clip of the pedal in action :D